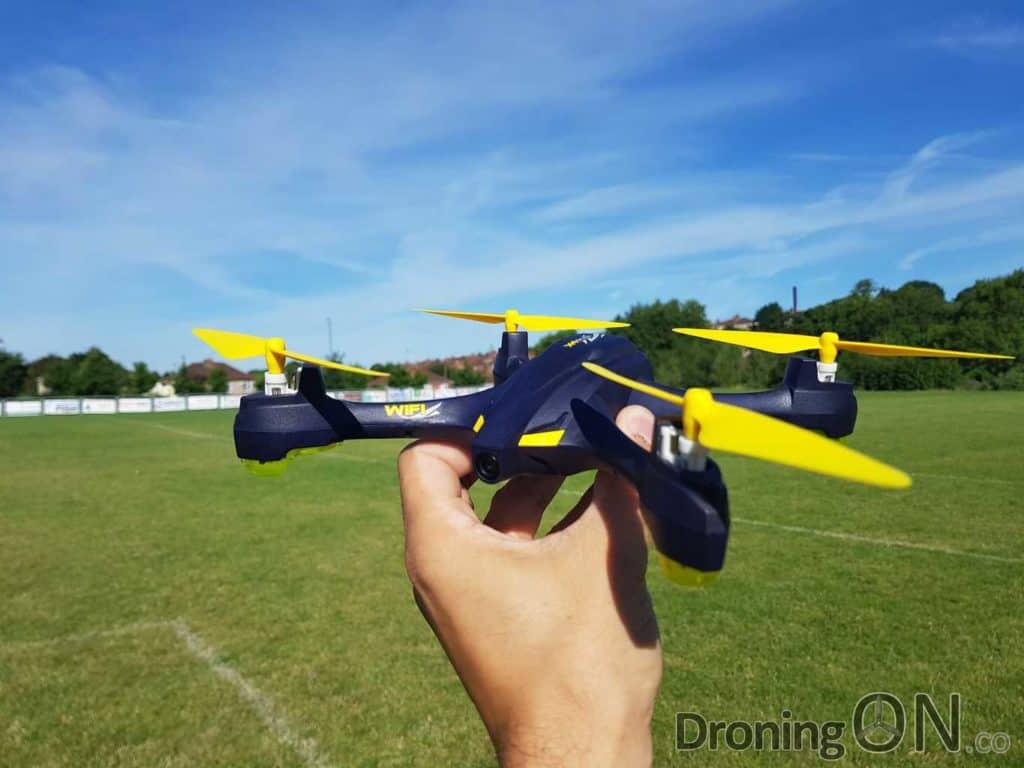
Whilst testing the Hubsan H507A, we found that if the battery of the drone died whilst recording, the video file became unplayable. There are lots of results online promising solutions but none appeared to work, but we found a fix which does.
Why do Hubsan video files fail…
During power loss during recording (due to flat battery or crashing the drone), the video file being recorded is not neatly completed and therefore cannot be played by most platforms.
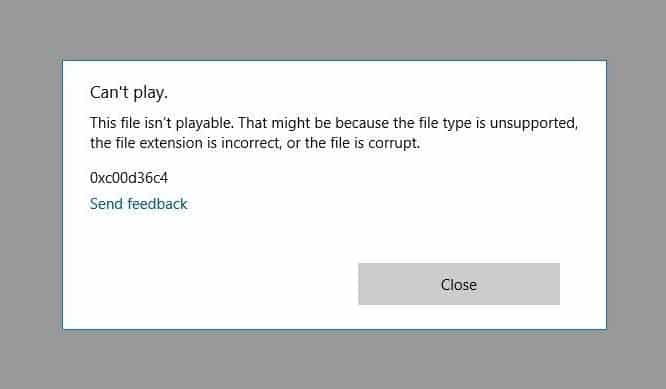
Hubsan seem incapable of fixing this simple issue with their drones, a small tweak of circuitry could solve this by retaining a small amount of voltage sufficient to close the file properly, but Hubsan are yet to implement this solution even in their latest drones.
How to fix Hubsan corrupt video files…
The fix depends on a third-party piece of software, it is free and unlike many others, it appears to work with Hubsan video files.
What you’ll need:
- Download ‘Digital Video Repair’ from this page.
- Create a new empty temporary folder on your PC.
- The faulty .MP4/.MOV file from your Hubsan.
- A working .MP4/.MOV file from your Hubsan.
Step-by-step instructions:
Follow these instructions to hopefully repair your corrupted Hubsan video file, be sure to comment at the bottom of the article to let us know if this succeeded or failed for you.
- Install ‘Digital Video Repair’ onto your PC (using the .exe file that you downloaded earlier.
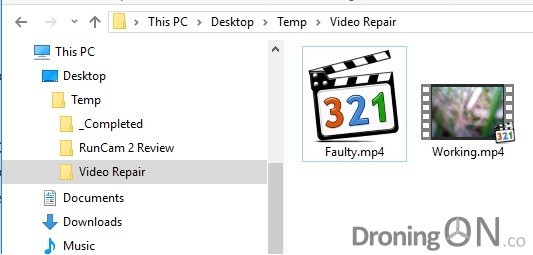
– - Place your faulty video file into the temporary folder on your PC.
– - Place your working video file into the temporary folder on your PC, this working file will be used as a reference to assist the repair process.
–
- Launch ‘Digital Video Repair’ from your Start Menu.
– - Click ‘Input File’ and select your corrupted video file in the temporary folder, then click ‘Open’.
–
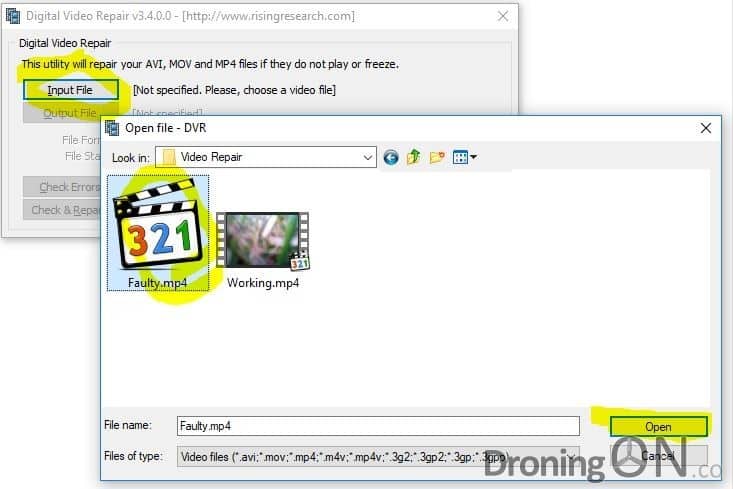
– - Leave the ‘Output File’ setting to the automatically generated value, this will leave your original file intact and repair to a copy.
– - The application may immediately indicate that it can detect that the file is damaged and show the option to ‘Repair’, alternatively the ‘Check Errors’ button may need to be clicked.
–

– - Click ‘Repair’, the application will commence analysis.
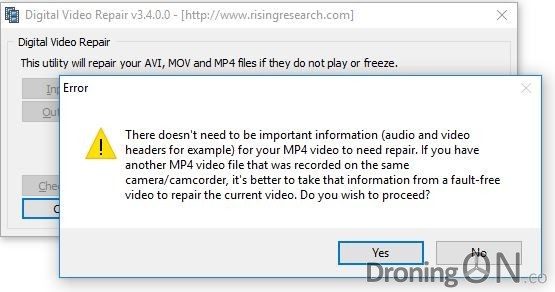
– - Shortly after, the application will prompt you to select a working file which will be used as a reference file to repair the headers of the faulty video file. Click ‘Yes’ and then browse to the working .MP4/.MOV file and select it (this file will not be altered).
–
– - After a short time (depending on the file size of the faulty file), the repair will complete.
- Browse to the temporary folder and double click the file with ‘(copy)’ on the end of this, this is the repaired version of the faulty file, hopefully it will now work/play!
Let us know…
We would love to know whether this guide and process succeeded in getting your corrupted video to play, so let us know by making a comment below! Also be sure to share this guide to any releant groups.
